Epoxy Resin Coasters - Info & Tips
- Michele Donohue

- Jan 6, 2022
- 3 min read
Updated: Jun 13, 2023
Resin coasters are very popular amongst resin crafters/artists, but these items sometimes have a few issues to be aware of ahead of time. In this blog, hopefully there's some helpful information for those needing or interested in it. 🙃😉

Beginners to resin coaster making, please allow 3 weeks for full hardness cure of any epoxy. If your coasters are going bendy in hot temperatures (even after 3 weeks), you have used a soft cure epoxy, and it will always go bendy in warmer temperatures regardless of amount of time it has cured. Most high heat epoxies (such as countertop epoxies), are harder curing epoxies, and once the initial week (and especially 3rd week) have passed, they will not go bendy in warmer temperatures.
Higher heat tolerance epoxy resins are great to use for resin coasters that will be used for hot beverages. It helps prevent possible permanent ring damage to the epoxy on the coaster from heat. Softer cure epoxies that are also lower in heat tolerance are more prone to issues with coasters, then higher heat tolerant epoxies that have a higher shore hardness rating (harder curing).
However, important note..... high heat epoxies will not help prevent the coasters from sticking to the cups, "if" they are super smooth. The vacuum happens with cold beverages too. It happens with other smooth surfaces besides epoxy resins too. Sometimes even napkins lift up with a cup that has been sitting on it. We've heard of cups sticking to various types of substrates on placemats as well. Different types of cups and different types of humidity levels can also play a role. It's similar to the same force that a stack of not-entirely-dry glasses often stick together. Moist, smooth surfaces can create a vacuum seal that causes the coaster to get picked up with the cup. Some people suggest sprinkling a tiny bit of salt or sand on top of the coaster, to avoid creating the vacuum seal between the smooth base of the glass/mug and the coaster surface, since condensed moisture often occurs where the two pieces meet. Or you can tilt your cup/glass ever so slightly off balance first before lifting it up, to break the seal (you might need to hold coaster still with another finger).
Or, to avoid this vacuum seal issue completely, you can use textured coaster moulds. If it is a flat surface mould, or resin topcoated tile, you could sprinkle some tiny sand (for texture) on to your coaster before top-coating it. Anything that gives you a bit of a texture barrier between the condensating cup and your coaster will help reduce that vacuum.
Tip for bubble reduction when using textured or highly detailed coaster moulds, pour a very thin layer in to the mould, then run a silicone brush along all the detail edges to push along any tiny bubbles sticking to detailed edges. Then pour the rest of your resin in to the mould.
Example of coasters with tiny indents in texture, where the lines are, that may allow air to breath under cup, which may help prevent common vacuum seal.


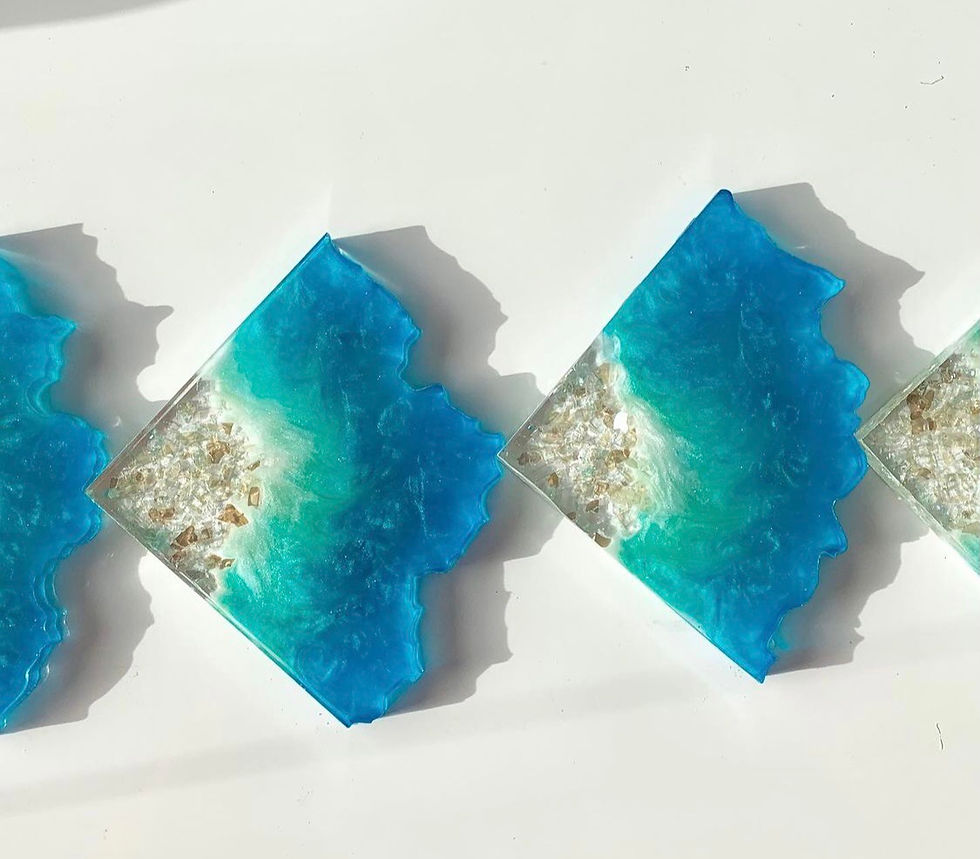
These coaster sets all have smooth, flat surfaces, so may have vacuum seal especially when used with hotter cups.
For sides of coasters, some people like to add paint to the coaster sides. Some paints may scratch off. Some crafters will use paint markers, and they work well, but you may need to test if they are durable enough to not be scratched or washed off. Many resin artists find that enamel paints tend to be more scratch resistant on coaster sides. If using regular acrylic paint, you make want to reseal the paint with a sealer, such as resin or clear non yellowing urethane.


Comments